1913 Mason & Hamlin model BB
Complete Rebuild & Refinish
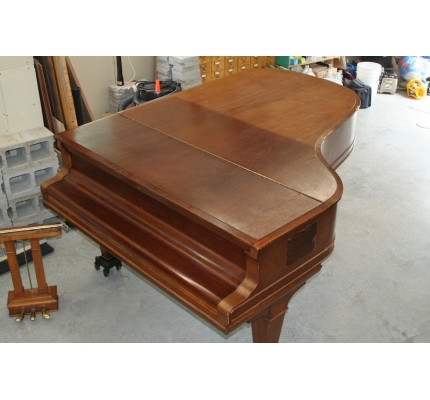 1 Upon Arrival The 7’ Mason & Hamlin “BB” as it arrived in my shop, was definitely worse for wear. There was extensive case damage (chips, cracks, separated veneer) as well as dramatic fading of the finish and marks from a previously attached plaque. 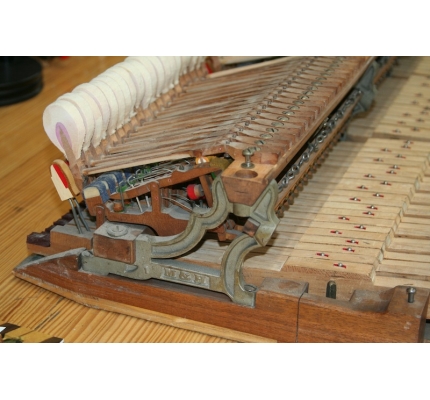 2 Old Action The old action from the piano had been “reworked” on more than one occasion in the past, which resulted in an action that was a shadow of what it had been – or what it could be. 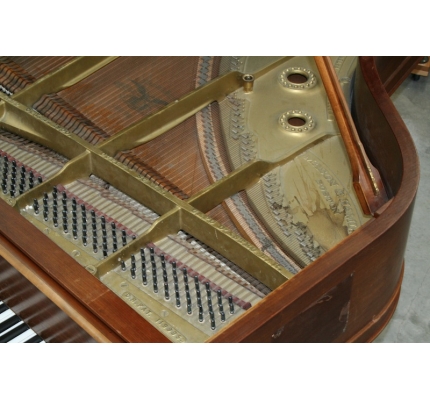 3 Inside The inside of the “belly” showed many signs of age, spills, corrosion, etc. 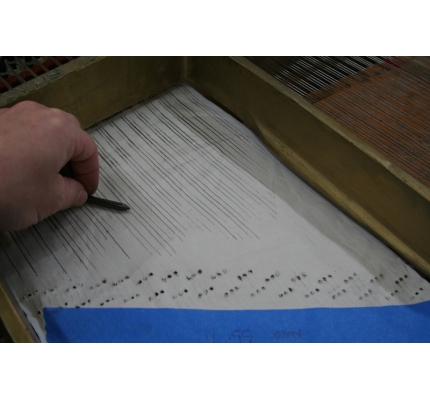 4 String Pattern Often a string pattern is made of the old strings prior to removal to assist with spacing the new strings after the piano has been restrung. 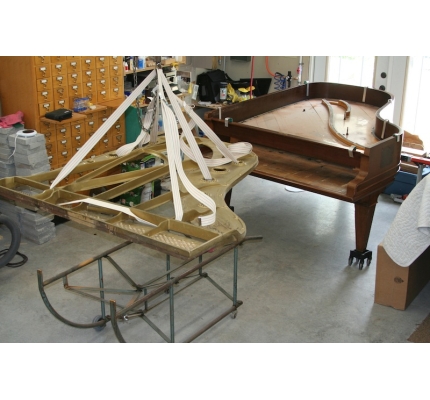 5 Plate Removal The plate is removed from the piano, exposing the soundboard and the rest of the belly so it can be worked on. Note the cracks and separations in the soundboard. This soundboard had undergone repair in the past, and was very much in need of replacement. 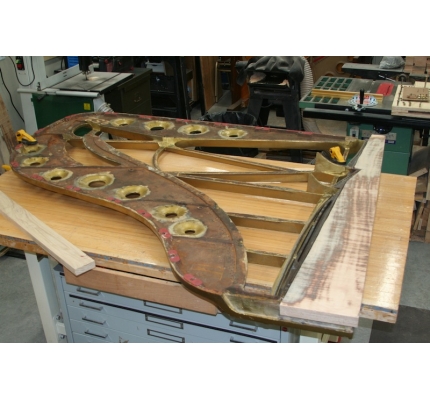 6 Pinblock Fitting Here the plate of the piano is upside down on the workbench to allow fitting of the new pinblock to the plate flange. 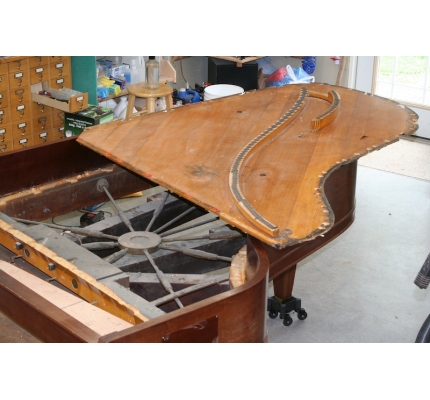 7 Soundboard Removal The soundboard is now out of the piano and will be shipped to a board maker for duplication. The board will be returned as a blank which must then be fitted and installed in the shop. With the board out of the piano, you can see the patented Mason & Hamlin Tension Resonator – commonly referred to as the “spider” by technicians. 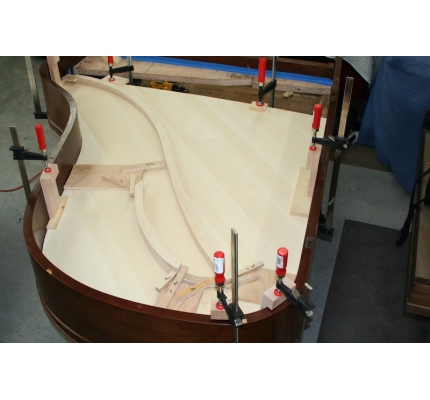 8 Dry Fit of Soundboard Before gluing in the new soundboard, it is installed without glue and clamped in place to ensure a proper fit. At this time, the bridges are located on the board and will be attached prior to gluing in the soundboard. 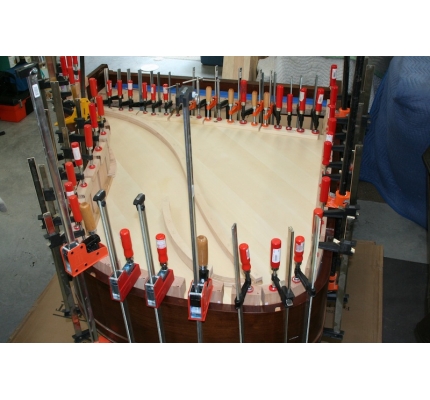 9 Gluing in Board The process of gluing in the soundboard requires more than a couple of clamps. 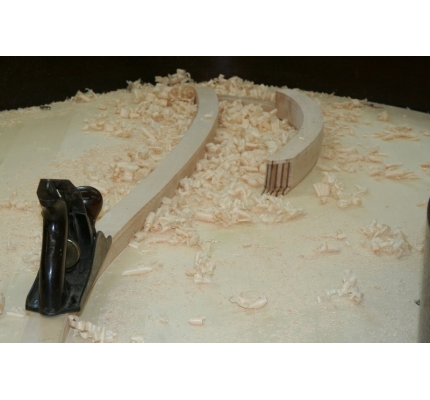 10 Planing of Bridges The bridges are planed to height using a hand plane – one of my favorite tasks in rebuilding. 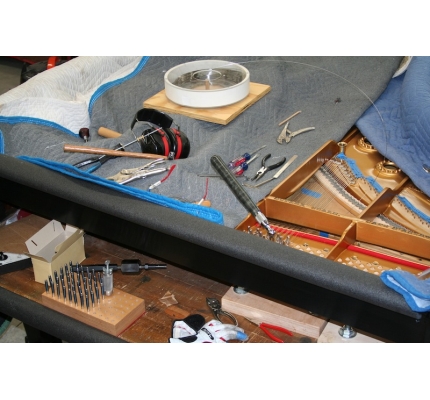 11 Stringing Later in the process, the piano is being strung with new wire. 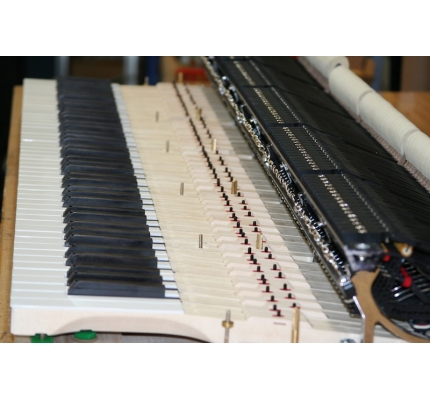 12 New Action The new keyboard and action for this piano. The parts are from Wessel, Nickel & Gross, the parts supplier for current Mason & Hamlin pianos. These parts are a composite which makes them dimensionally stable with changing humidity (a big plus), and represent a real opportunity for rebuilders to customize action designs and produce wonderfully responsive actions. 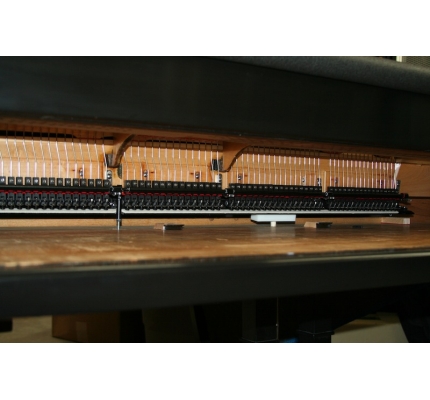 13 New Damper Action The new damper action is also comprised of composite parts and is beautiful in execution. 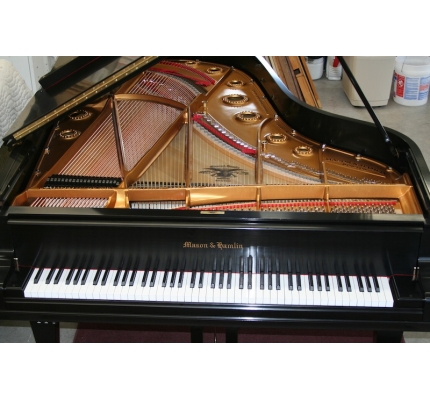 14 Final Product The finished product ready for delivery. 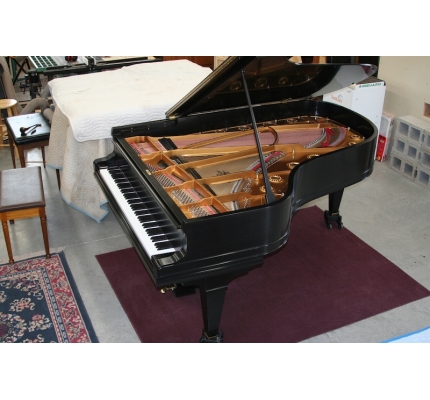 15 Final Product Another angle of the finished piano. |
1914 AB Chase 54” Upright
Rebuild & Refinish
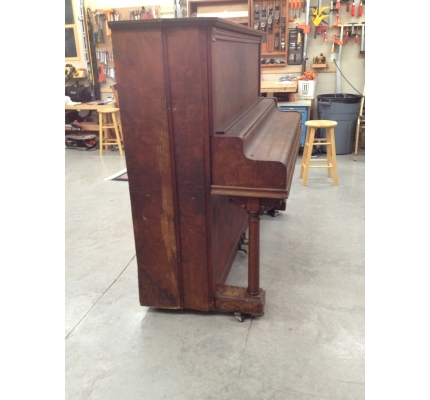 1 Upon Arrival The old upright as it arrived in my shop – dirty, tired, in need of some love. 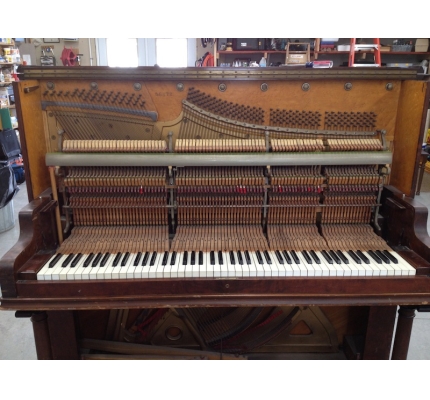 2 Inside The inside of the piano was equally worn, but AB Chase was a very well made instrument and the raw materials were plentiful from which to rebirth this once majestic piano. 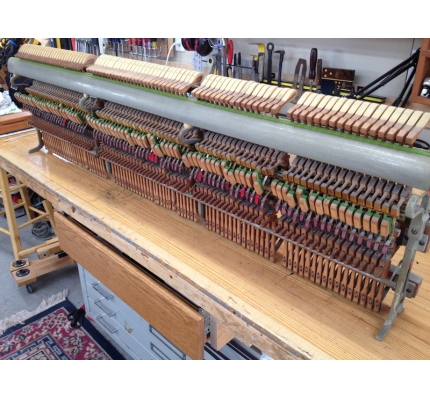 3 old action The old action was noisy, loose, uncontrollable, and (quite frankly) sounded terrible. The rebuilding of this piano required the replacement of some of the action parts, and the restoration of others which were no longer available from suppliers. 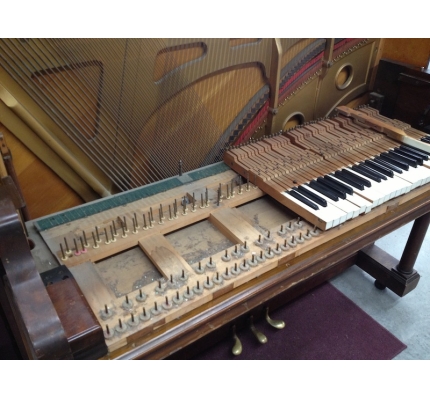 4 Keybed The old keybed was very dirty and needed extensive cleaning, repairs, and replacement of felts. 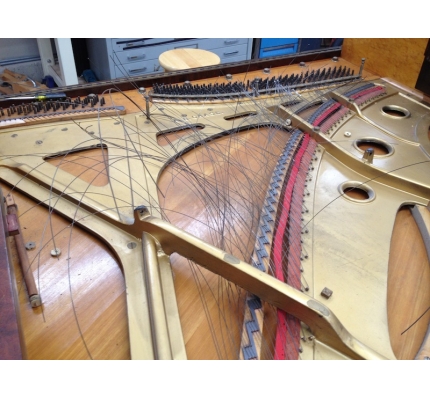 5 strings off The strings have been cut for removal from the piano. Once the strings are out of the way, the plate will be removed and refinished, the soundboard repaired, and the bridge will be re-surfaced, notched and pinned. 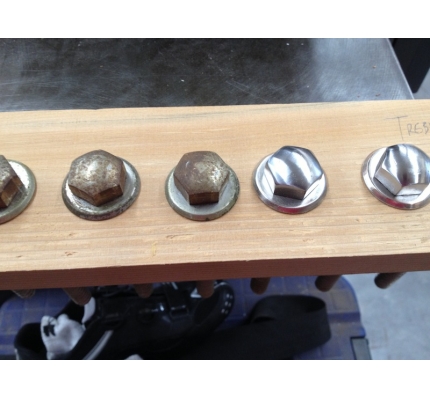 6 polishing hardware All of the hardware for this piano will be restored by cleaning and polishing. It is nearly impossible to find matching hardware for these instruments, and even if it can be found, is often terribly expensive. And, the old hardware is still perfectly functional and (obviously) beautiful underneath 100 years of grime. 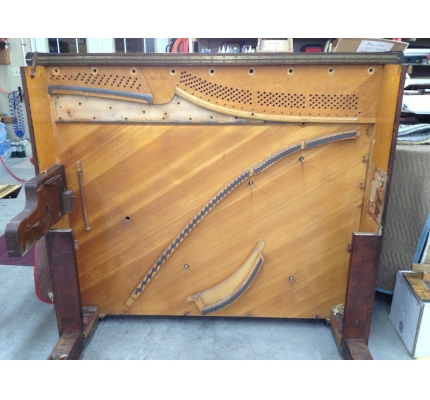 7 clean interior The belly of the piano is now finished and ready for re-assembly. 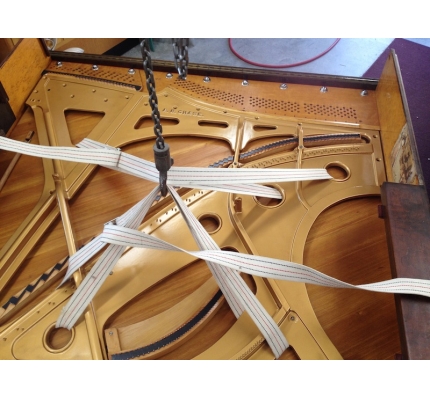 8 plate in The cast iron plate is re-installed after refinishing. 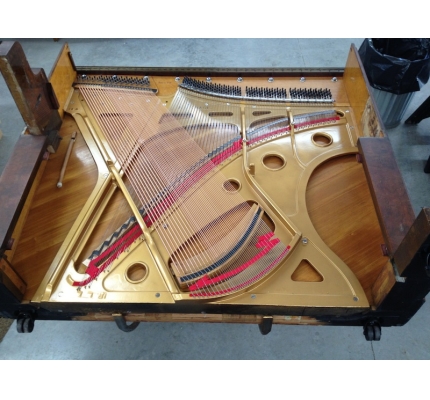 9 new inside The piano is now strung and ready to be stood up and made playable again. 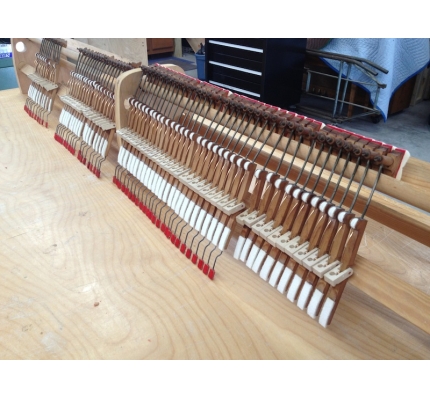 10 Dampers The damper levers have been restored with new flanges and new felts. 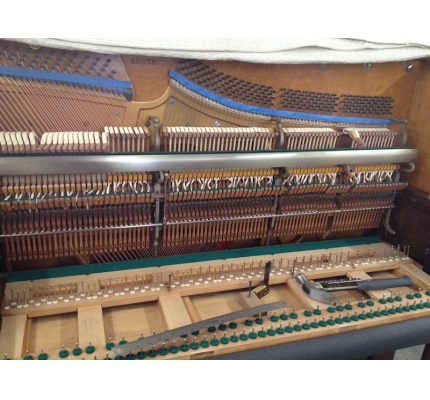 11 New Action The action is nearly completed. Here, new hammers are being installed in the piano – they have not yet been glued in, which is why you can see they are not all straight and even. 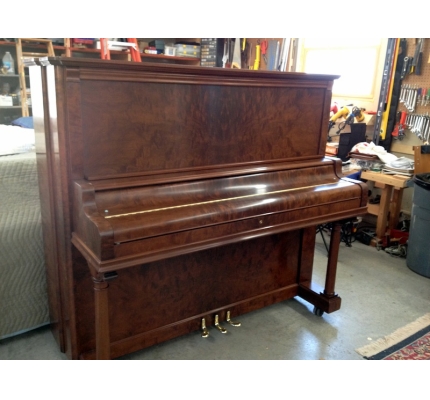 12 finished product The final product, finished and ready to return to the owner. |
1926 Steinway & Sons model M
Rebuild & Refinish
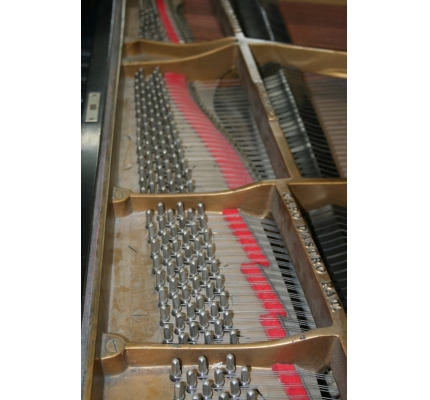 1 Old The piano came in very dirty and worn, full of corrosion and essentially unplayable. 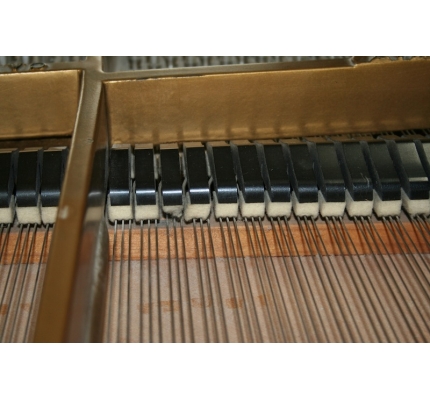 2 Old Dampers The old damper felts were contaminated and in very poor condition. 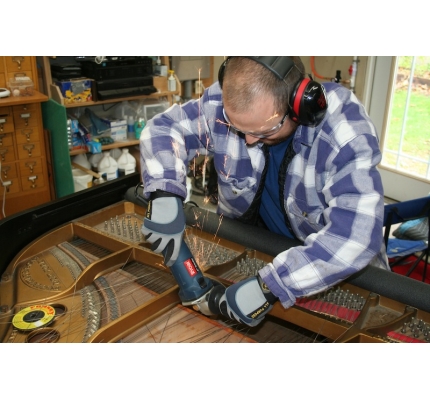 3 Removing Strings Often the strings are cut away with a cut-off wheel and then pried loose from their tuning pins. The cut-off wheel makes quick work of the removal process. 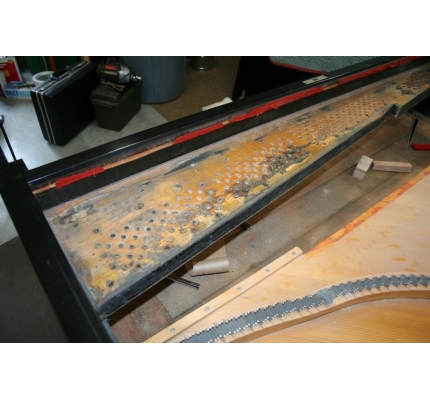 4 Old Pinblock The old pinblock was awful! Contaminated and worn, it would not hold the pins to keep the piano in tune. 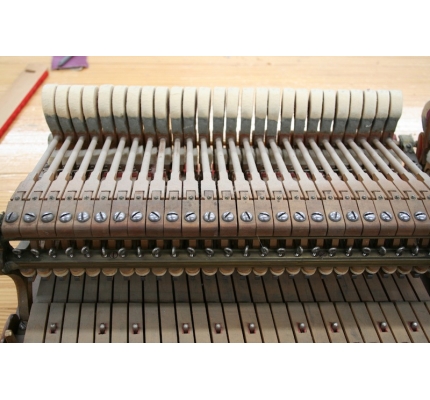 5 Old Action The old action was unplayable. Notes would not repeat and the tone was awful and uneven. 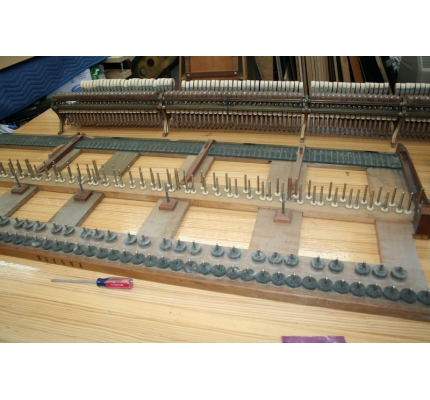 6 Action Frame The old action frame was in need of new felts and cloth and a thorough cleaning. 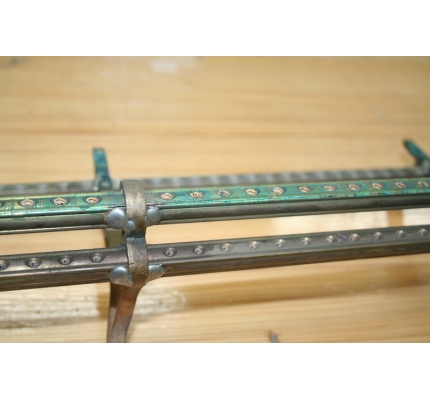 7 Verdigris and Crack The dreaded “Steinway disease” – verdigris [VARE-du-gree]. The green color on the action rails is a chemical reaction between “something” that Steinway used in their action parts and the brass of the action rails, or the metal in the center pins of the action parts. Verdigris spreads and essentially freezes up the action parts. Parts replacement is the only long-term solution to an action with Verdigris. 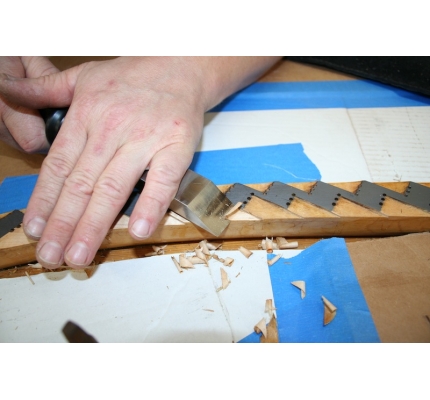 8 Notching The bridge notches are re-cut prior to installing bridge pins to ensure there is no interference with the string termination at the bridge pin. 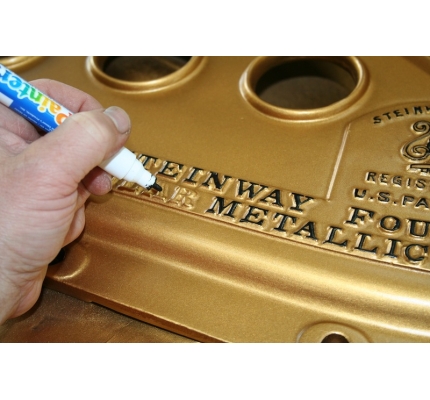 9 Plate Lettering The lettering on the cast iron plate is done by hand after the plate has been sprayed bronze. Then a clear coat of lacquer is sprayed over the top of the lettering and the rest of the plate. 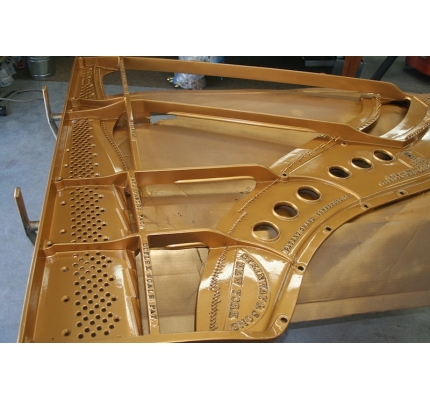 10 Finished Plate After the clear coats are sprayed, the plate is finished and ready to go back into the piano. 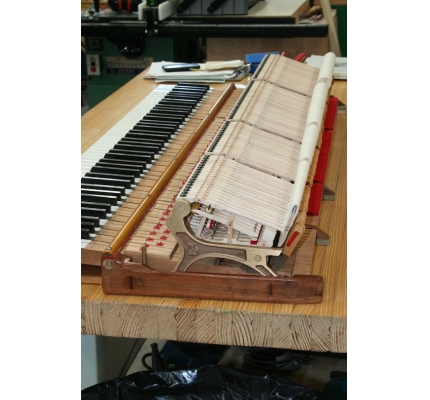 11 New Action Here, the keyframe has been fitted with the new action stack and new action parts. In this case, the parts were replaced with NY Steinway parts.  12 New Damper Action The new damper action is also NY Steinway.  13 Finished Product The piano is nearly ready for return to the owner now. 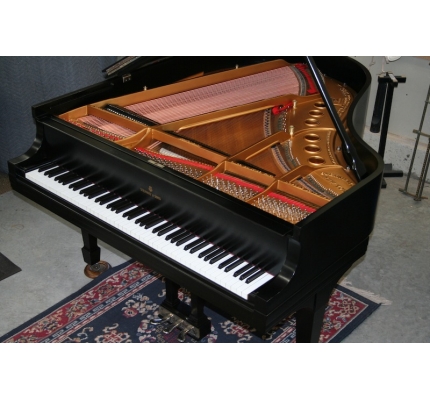 14 Finished Product Once the lid is in place, the piano is complete and ready to go. |
1927 Mason & Hamlin model A
Action Rebuild
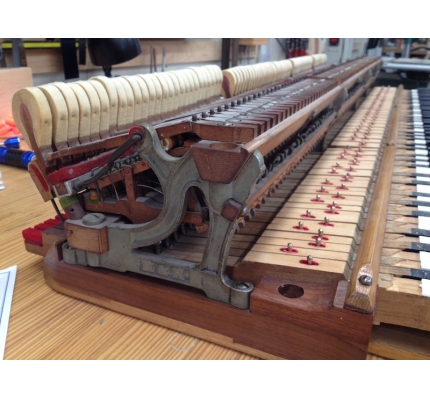 1 Old Action The old action to this Mason & Hamlin A was worn out and needed replacing. The decision was made by the client to use Wessel, Nickel & Gross (WN&G) composite action parts. 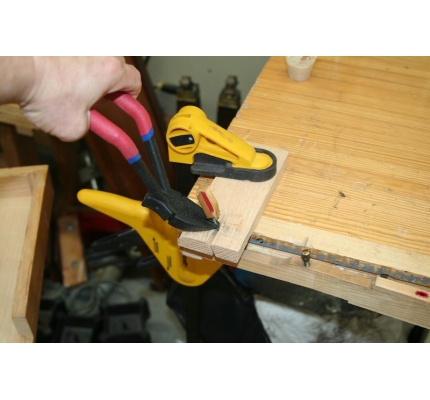 2 Removing Old Backchecks The old backchecks are removed from the ends of the keys. 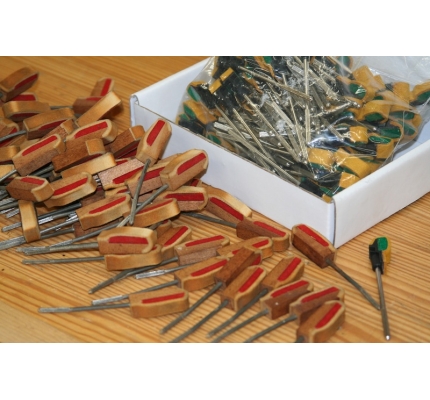 3 New Backchecks A comparison of the old backchecks and the new composite backchecks. 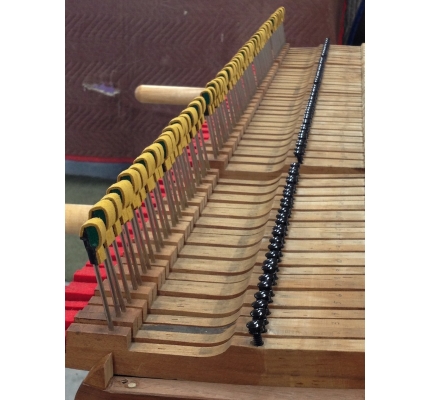 4 New Backchecks and Capstans Here the keys have had the new WN&G backchecks installed as well as anodized aluminum capstans, which are much lighter in weight than traditional brass capstans. 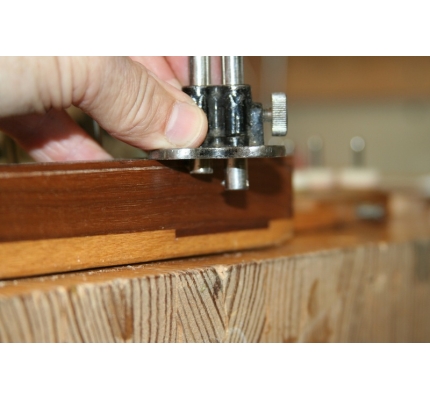 5 Marking the Cleats To fit the new top stack, the cleats upon which the action brackets rest must be planed to height. Here a marking gauge is used to mark the finished height of the cleat. 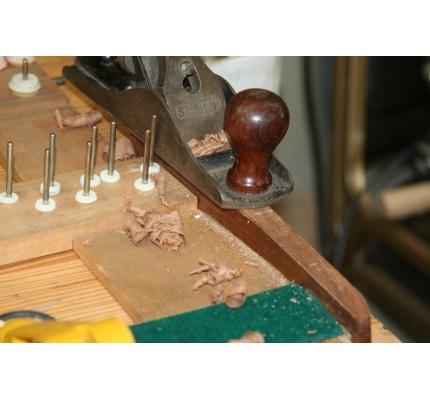 6 Planing Cleats A hand plane is used to lower the cleat height. 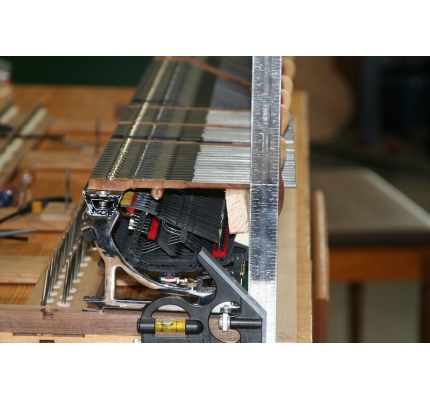 7 Setting up Hammers Here the old hammers are mounted to the new action stack to serve as guides for the new hammers as they are hung on their shanks. 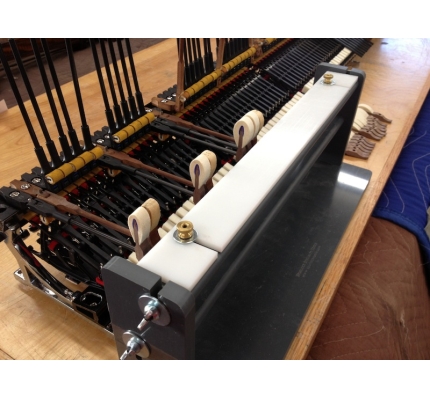 8 Hanging Hammers Here the process of hanging hammers has just begun. 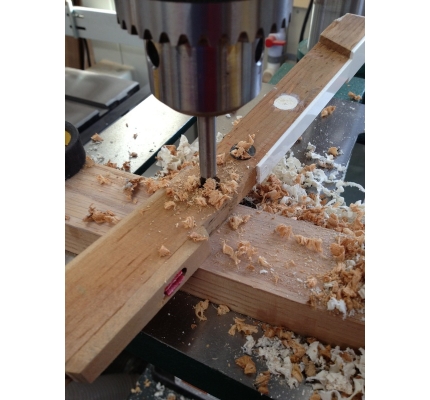 9 Installing Lead When rebuilding an action, an often overlooked step is altering the leading pattern in the keys to match the new action parameters. This is a step which should always be done to ensure the touch weights for the action are proper and even throughout. 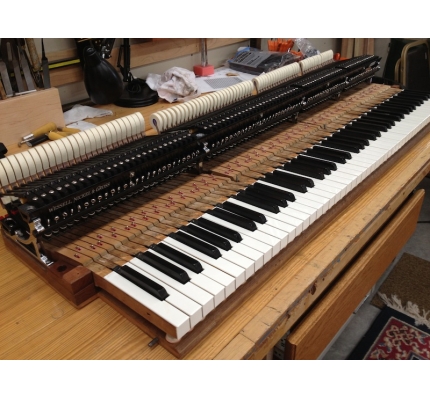 10 New Action The completed new action, ready to be returned to the client. |

